Tips for the do-it-yourself car wash

For many vehicle owners, washing a car by hand is a therapeutic act as beneficial for the person’s state of mind as to the vehicle’s appearance. That’s good, because frequent washing is also the best way to maintain a new-car finish. But as simple as washing your car may seem, there are some things to watch for so that you don’t accidentally scratch or degrade the finish. Below are some basic car-washing tips.

Don’t… use household cleaning agents like hand soap, dishwashing detergent, or glass cleaner on the paint. These aren’t formulated for use on a car’s paint and may strip off the protective wax.

Do… use a dedicated car-wash product, which is milder and specifically designed for use on automotive paint. Apply the suds with a large, soft natural sponge or a lamb’s-wool mitt. (See our car wax report for tips and advice on all types of waxes.)

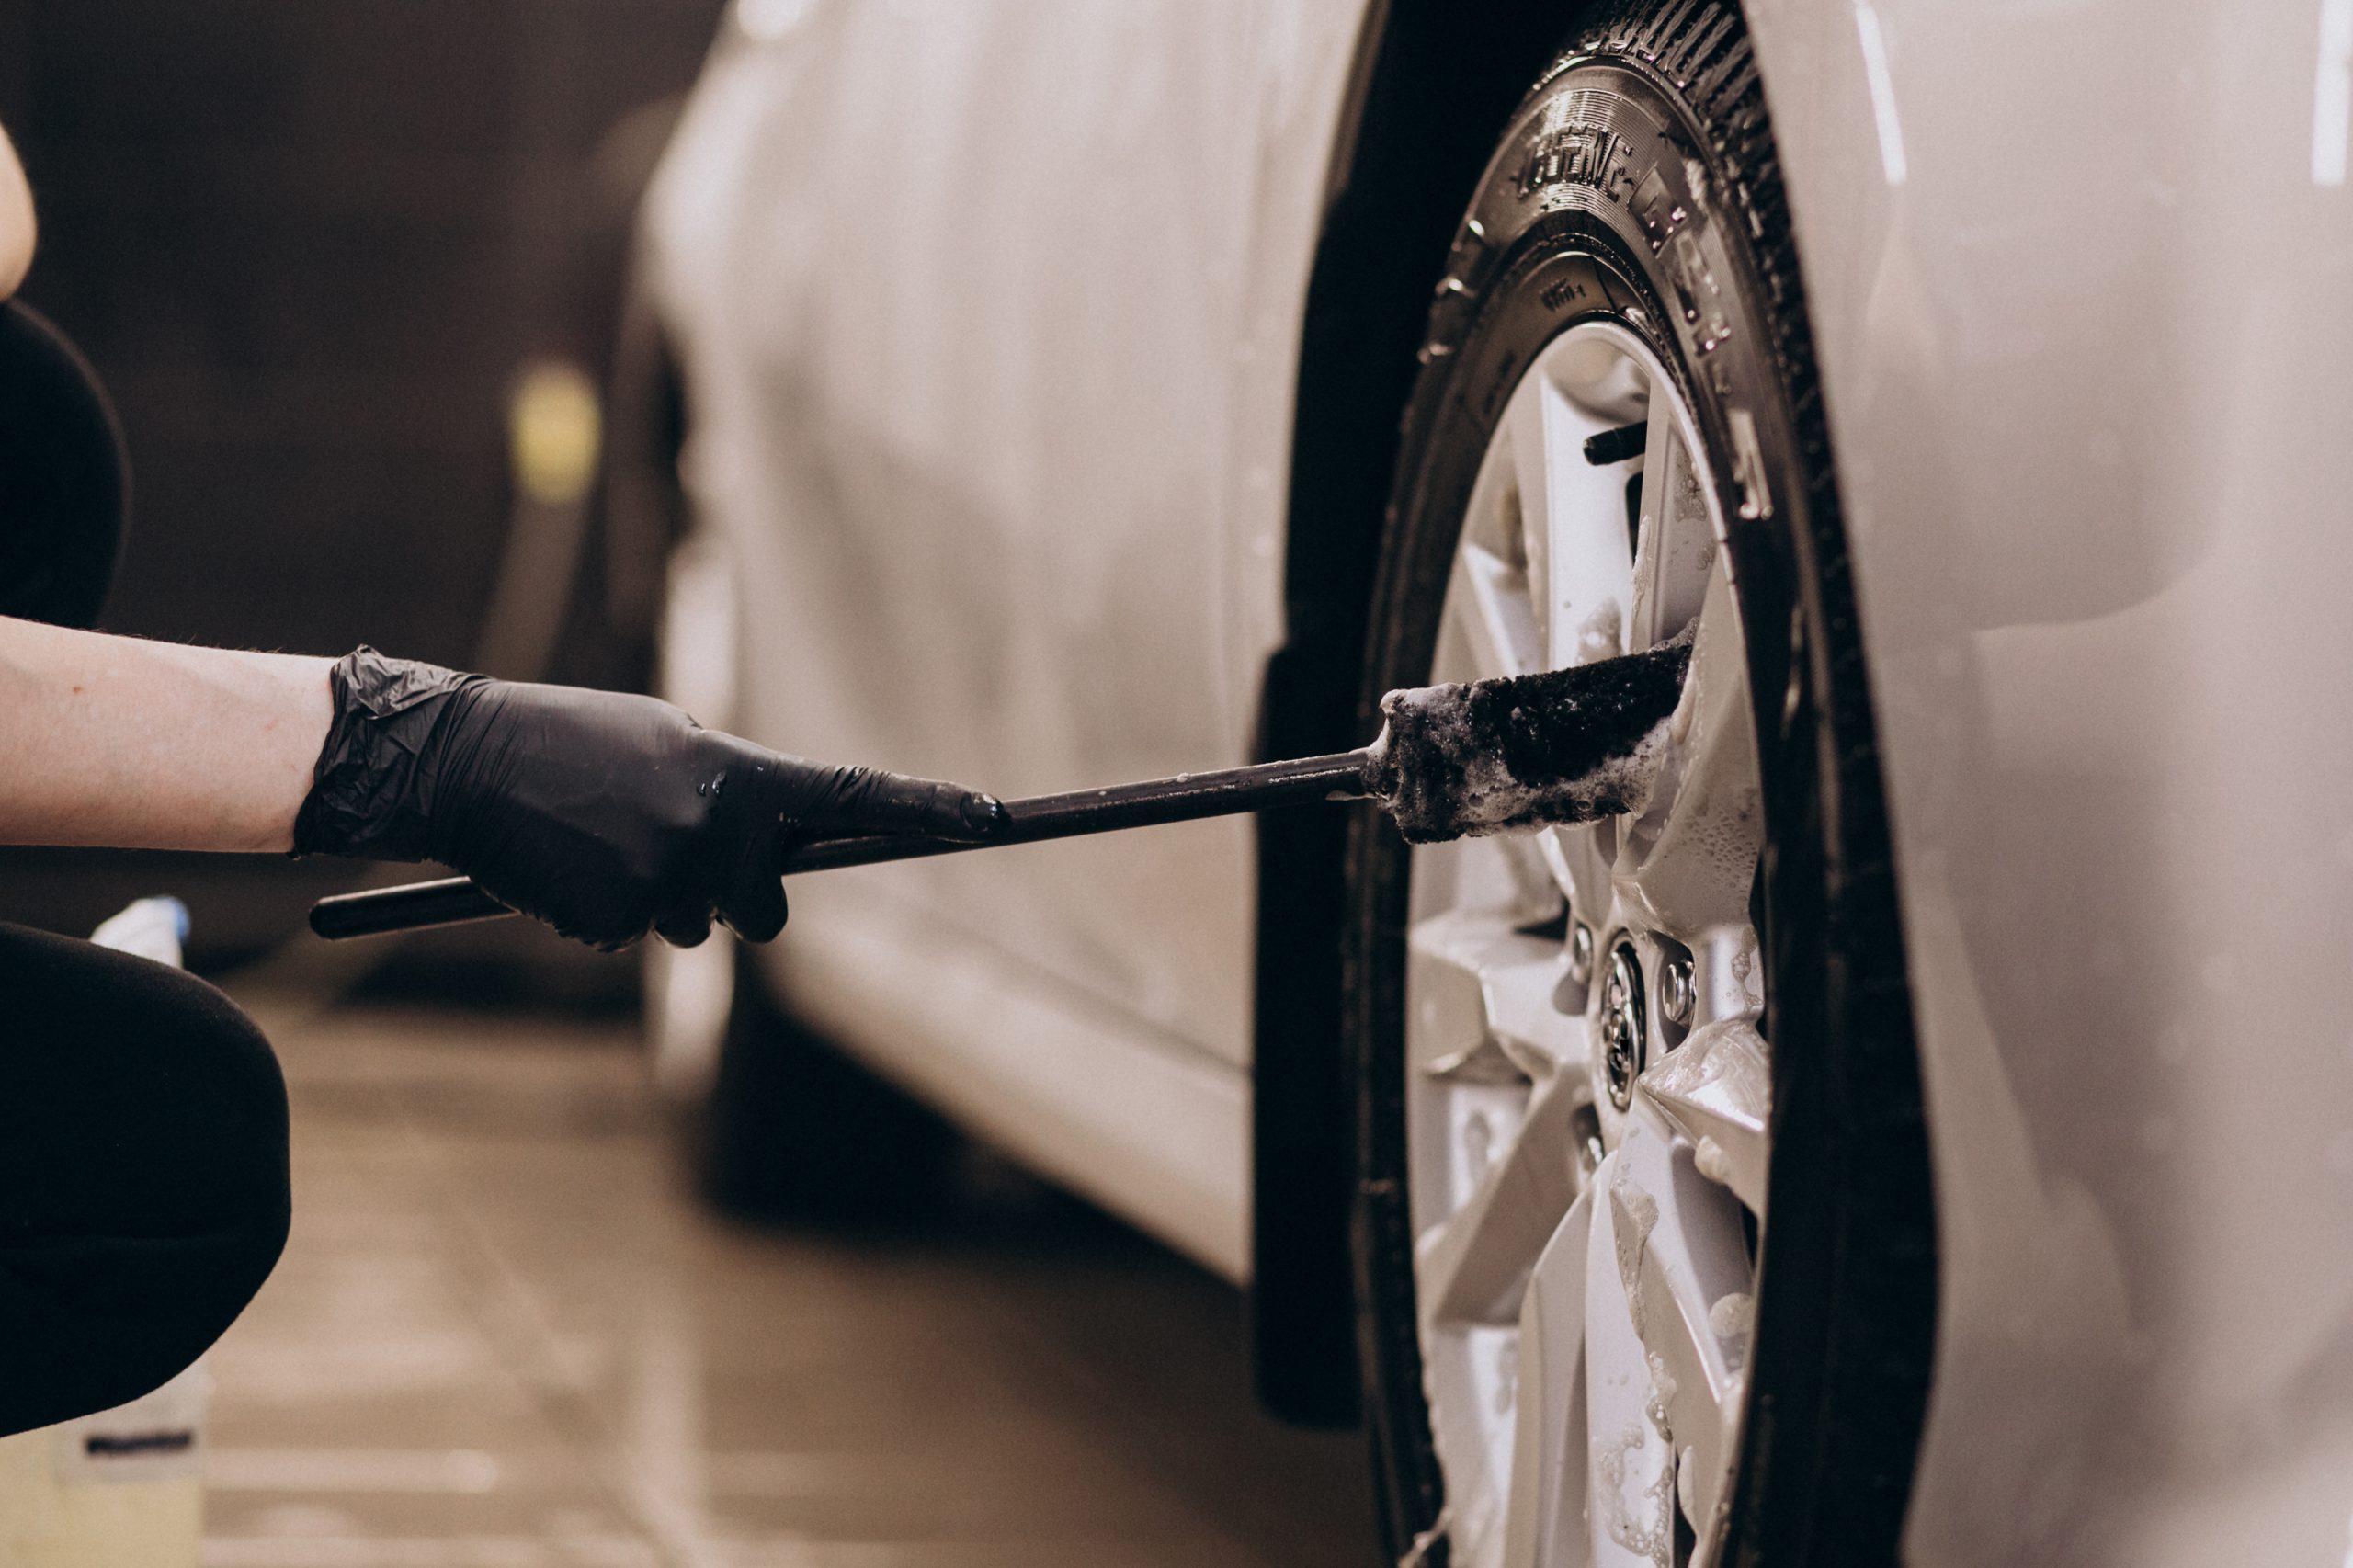
Grease, rubber, and road-tar deposits picked up from the road often accumulate around the wheel wells and along the lower edge of the body. These can be stubborn to remove and may require a stronger product, such as a bug-and-tar remover. Use a soft, nonabrasive cloth to remove these deposits, as they can quickly blacken your sponge.

Do… use a separate sponge to clean the wheels and tires, which may be coated with sand, brake dust, and other debris that could mar the car’s finish. Mild soap and water may work here; if not, a dedicated wheel cleaner may be required. Be sure the cleaner is compatible with the type of finish (paint, clear-coat, chrome, etc.) used on the wheels. A strong formula intended for mag wheels, for instance, can damage the clear coat that’s used on the wheels that come on today’s cars. To be on the safe side, choose a cleaner that’s labeled as safe for use on all wheels.

How Should I Dry the Car When I’m Done?

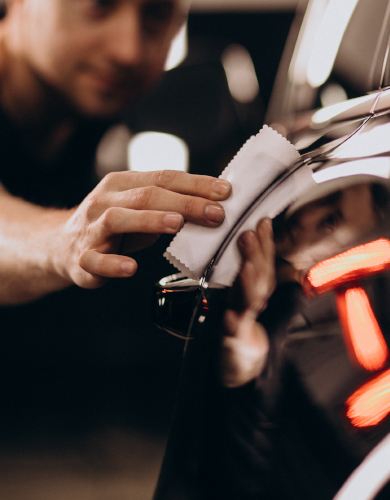
Don’t… let the car air dry, and don’t expect a drive around the block to do an effective job. Either will leave watermarks caused by minerals in hard water. In addition, don’t use an abrasive towel or other material that can leave hairline scratches in the paint.

Do… use a chamois (natural or synthetic) or soft terry towels. If you choose towels, you may need several. It’s best to blot the water up instead of dragging the towel or chamois over the paint. The drying process can be speeded up by using a soft squeegee to remove most of the water on the body, but be sure the rubber is pliable and that it doesn’t pick up bits of dirt that can cause scratches.


Are There Any General Guidelines I Should Follow When Washing a Car?

Don’t… wash your car when the body is hot, such as immediately after driving it or after it has been parked in direct sunlight for awhile. Heat speeds the drying of soap and water, making washing more difficult and increasing the chances that spots or deposits will form.

Don’t… move the sponge in circles. This can create light, but noticeable scratches called swirl marks. Instead, move the sponge lengthwise across the hood and other body panels. And don’t continue using a sponge that’s dropped on the ground without thoroughly rinsing it out. The sponge can pick up dirt particles that can scratch the paint.

Do… rinse all surfaces thoroughly with water before you begin washing to remove loose dirt and debris that could cause scratching. Once you begin, concentrate on one section at a time, washing and rinsing each area completely before moving on to the next one. This ensures that you have plenty of time to rinse before the soap dries. Start at the top, and then work your way around the car. Use a hose without a nozzle and let the water flow over the car from top to bottom. This creates a sheeting action that helps minimize pooling of water.

Do… work the car-wash solution into a lather with plenty of suds that provide lots of lubrication on the paint surface. And rinse the sponge often. Using a separate bucket to rinse the sponge keeps dirt from getting mixed into the sudsy wash water.


How To Permanently Restore Black Plastic Trim

Pro Results!

We all notice a gleaming paint job or a set of pristine wheels, but well-maintained black plastic trim plays a vital role in maintaining the overall visual impact of your ride. If your car is a few years old and looking a little less fresh than it used to, take a moment to go check out the plastic trim…

Chances are, what used to be a deep black color has started to fade to gray. Sadly, not even the most carefully maintained exterior will look anything other than second-rate unless that trim is in top condition. Deep blacks look smooth and clean, and will provide the contrast against body panels that makes your paintwork pop.

So, today, we’re going to show you exactly what you need to do to give that trim a makeover and restore the dynamism to your ride’s exterior!

The methods in this article will work on both interior and exterior plastic.

Solution Finish Full Installation Kit - Black Plastic Trim Restorer

Plastic naturally contains a lot of oils. Over time, those oils near the surface degrade and dry out, leading to discoloration. Unlike paintwork, plastic trim pieces don’t have a protective clear coat. So, without this layer of defense, it will always be more susceptible to damage from the elements.

Sunlight is the main culprit. UV rays dehydrate the plastic and degrade it on a molecular level. Then there are contaminates from the road, which will only speed up the degradation process. So, depending on where you live, where you store your car, and the road conditions, the plastics can be one of your car’s first areas to need an overhaul.

How To Use

Step 1) Apply the Plastic Restore

Give the plastic trim a generous spray with Torque Detail Plastic Restore, making sure to cover every area. Don’t worry if there’s overspray onto the paint. Unlike some other plastic restorers, we’ve designed this product to be safe on paintwork.

Let the spray sit for at least thirty seconds, although sixty seconds is ideal. This gives the restorer time to sink deep into the plastic and change its molecular structure. We know it’s tempting to wipe it away immediately to see the changes in all their glory! But trust us, this is the part where the Plastic Restore does the real work, so it’s worth giving it time.

Step 2) Restore

Take your clean microfiber towel and wipe away the excess liquid from the surface. Any pools of liquid will attract dirt, so be sure to dry all the panels’ little creases and valleys.

Then, stand back and take a first look at the changes! We can guarantee that even one coat will make a huge difference!

Follow-up coats

Voila! Your plastic is looking good as new and is now UV protected.

If your plastics just needed a quick boost back to factory-fresh, one coat may be enough. However, many vehicles will benefit from at least two applications. It’s not uncommon to see continued improvements from up to four coats on cars a decade old!

You can rest assured that our full 100% money-back guarantee backs every bottle we make. If you aren’t satisfied with the results, you can request a full refund – no questions asked.

Ceramic coating technology has taken the detailing game by storm. As a relatively newer alternative to the traditional automotive wax, ceramic coating provides a higher level of paint protection.

Ceramic-based sealants are liquid-polymers derived from quartz, silica, and silicone-dioxide.

Ceramic coating owes the bulk of its efficacy to nanoparticles within the paint sealant. Nanoparticles in the sealant range in size from 80 to 100 nanometers. For perspective, there are 10 million nanometers in a millimeter.

Nanoparticles work by adhering to the surface of your car and sealing all of its pores. The result? Your car’s paint will be hydrophobic, as in, water-repellant. Not only that, but it’ll also be able to better withstand harsh chemicals, scratches, UV damage, debris, and the heat.

As a side note, you now know why a ceramic coating may also be referred to as a nano coating!

Seramic Coating

Which Offers The Best Paint Protection?

Ceramic coating, by far, offers the best paint protection for your car, truck, or SUV. A solid application of this high-grade liquid-polymer can take on almost anything you throw at it, literally.

How to Apply Ceramic Coating

How you apply ceramic coating depends on the type you’re using. Are you doing the work yourself or hiring someone else?

DIY Ceramic Coating Spray

Ceramic coating spray application can be performed by your everyday car owner. Begin by washing your car and rinsing the surface to remove any dirt, debris, and grime that could reduce protection.


Here’s where it gets tricky. Using a clay bar and a lubrication fluid, you’ll want to get rid of any hard-to-remove grime, sap, or overspray to leave behind a smooth surface. Creating a smooth surface helps the ceramic coating spray adhere evenly to the paint.

Firmly slide the clay bar across the surface of your car after applying the liquid solution to help break up the grittiness. A grainy surface produces an audible noise as you run the palm of your hand across it.

Now that your car’s surface is smooth, you can proceed with the paint correction process if that is something you are concerned about. Removing everything from spider webbing to fine scratches to water spots helps with the rest of the application process.

How Long Does Each Coating Last?


Car wax and ceramic coating’s longevity depends on unique factors such as how often you drive, where you park your car, and other variables that affect your car’s paint (and clear coat!).

Here at Torque Detail, we recommend applying an even coat of wax monthly for cars that are driven a normal amount and are parked under shade or inside a garage most of the time.

If, however, you’re out on the road a lot under unforgiving conditions and you’re parked out roasting under the sun all day, then you’ll want to increase the frequency of adding wax to your car.

When it comes to a typical ceramic coating, you’ll probably need to re-apply a coat every three to four months or more. Our Ceramic Spray formula is rated for up to 12 months. That’s a considerable difference in protection time between ceramic coating and traditional wax.

Ceramic Coating, Protect Your Paint

When You Should Use Each Type - Ceramic vs. Wax

Use a ceramic coat if…

  • Your car has a new paint job
  • You drive regularly and maintain your car well
  • You wash your car regularly
  • Your vehicle can benefit from a quick and easy wash

    Use a wax if…

  • You drive daily under harsh conditions
  • Your car gets easily dirty and you don’t have time to wash it immediately
  • Your car is vulnerable to scratches or dents
  • You have a tighter budget